Creating Depth with Easter Egg 3D Layered Designs
In the world of digital crafting and decorative arts, few designs capture the essence of a holiday quite like the Easter Egg 3D Layered motif. This intricate design concept transforms a simple seasonal symbol into a multidimensional piece of art that serves multiple purposes: a stunning home decoration, a thoughtful gift, or a celebratory sign for special spring gatherings. Unlike traditional flat illustrations, this layered approach utilizes depth, shadow, and perspective to create visual interest that changes depending on the viewer's angle. For creators, hobbyists, and small business owners looking to add a unique touch to their projects, understanding how to effectively utilize these files is essential for achieving professional results.
The Art of Dimensional Crafting
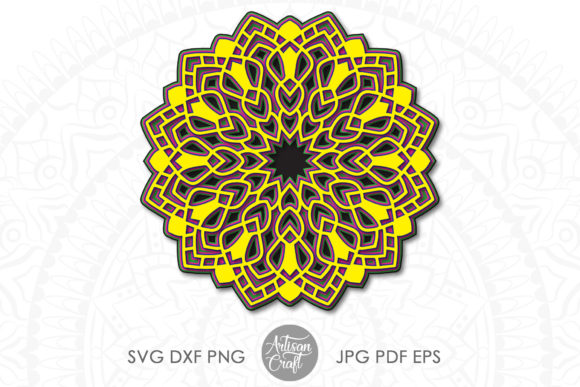
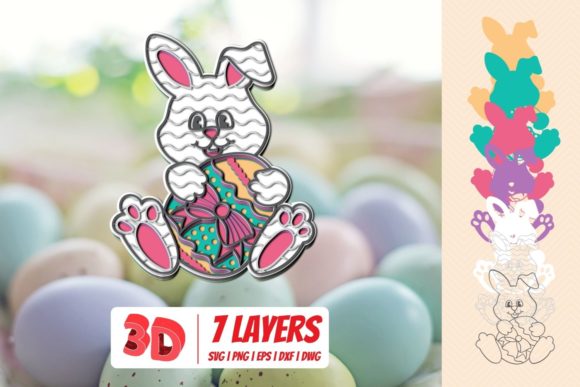
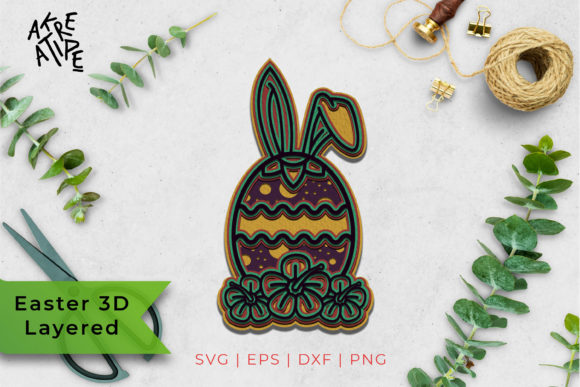
The core appeal of the Easter Egg 3D Layered file lies in its complexity. It is not merely a single image but a collection of distinct vector layers that, when cut and assembled, form a cohesive three-dimensional object. The colors displayed on your screen are often provided as an example to guide your creative choices; however, one of the greatest strengths of this design is its versatility. You can alter the color palette to match any theme, from pastel spring tones to bold, modern contrasts. This flexibility allows you to tailor the final product to specific interior decors or event themes without being restricted by the original digital preview.
When you examine the intricate setting custom details within the layers, you will notice a high level of precision. Each layer contains delicate cuts and patterns that contribute to the overall texture of the egg. This level of detail requires careful planning during the assembly process. The goal is to ensure that each layer sits perfectly atop the previous one, creating a "stained glass" effect where light might pass through certain sections or where shadows deepen the sense of volume. For those new to layered paper crafts, this process can be meditative and rewarding, resulting in a tangible piece of art that feels far more valuable than a standard printout.
Selecting the Right Materials
To achieve the best results with an Easter Egg 3D Layered project, material selection is critical. The choice of substrate affects not only the durability of the final piece but also how cleanly the cutting machine handles the intricate details. Below are recommended materials based on common crafting needs:
- Cardstock (65lb): This is perhaps the most popular choice for indoor decorations. A 65-pound cardstock provides enough rigidity to hold its shape while remaining thin enough to allow for precise cutting of fine details. It takes paint and marker accents beautifully if you wish to add hand-painted highlights.
- Plywood and MDF: For larger signs intended for outdoor use or heavy-duty home decor, wood is an excellent option. Plywood offers a natural grain aesthetic, while MDF (Medium Density Fiberboard) provides a smooth surface that accepts paint evenly. Note that cutting thicker wood requires a more powerful machine and potentially slower speeds to prevent burning.
- Acrylic: Clear or colored acrylic sheets can give the design a modern, sleek look. The transparency of acrylic interacts uniquely with the layered design, allowing light to filter through and create colorful reflections. However, acrylic can be brittle, so care must be taken during handling.
- Paper and Cardboard: For quick prototypes or children’s activities, standard printer paper or corrugated cardboard works well. While less durable, these materials are cost-effective and easy to work with for practice runs.
Regardless of the material chosen, it is vital to ensure that your adhesive has not lost its tackiness. When assembling the layers, especially with cardstock, using old glue can cause the paper to lift or tear, ruining the clean lines of the design. A strong, clear-drying craft glue or double-sided tape dots are highly recommended to secure each layer firmly in place.
File Compatibility and Software Usage
One of the primary advantages of purchasing a comprehensive cut file set is its broad compatibility across various software platforms and cutting machines. Whether you are a casual user or a professional designer, there is likely a file format in the package that suits your workflow. Understanding these formats helps streamline the production process.
- DXF Format: This format is primarily designed for users of Silhouette Studio Basic Free Edition. If you do not have a paid subscription to Silhouette Studio, the DXF file ensures you can still import and manipulate the design without additional software costs. It is also widely supported by other basic vector editing tools.
- SVG Format: The SVG (Scalable Vector Graphics) file is the industry standard for many modern cutting machines. It is fully compatible with Silhouette Studio Designer Paid Edition, Cricut Design Space, Make the Cut, Sure Cuts A Lot, and Brother Scan N Cut. SVG files retain all layer information, allowing you to separate the different parts of the Easter egg for individual cutting and coloring.
- EPS Format: For graphic designers who prefer vector illustration software, the EPS file is ideal. It opens seamlessly in Adobe Illustrator, Corel Draw, Inkscape, and other professional applications. This format preserves the integrity of the curves and paths, making it easy to resize or modify the design before sending it to a commercial plotter.
- PNG Format: The PNG files included in the zip archive are raster images suitable for printing. These are useful if you plan to use the design on iron-on transfer paper, stickers, or if you need a visual reference for assembly. They are also compatible with almost any software program that accepts image files.
Important Note on Iron-On Transfers
If you intend to use the Easter Egg 3D Layered design for apparel or fabric-based gifts, please remember to follow the specific directions provided by your transfer paper manufacturer. A crucial step often overlooked is clicking the "flip horizontal" button before finalizing your print job. Since the design involves text or directional elements, failing to mirror the image will result in reversed graphics on the finished product.
Practical Applications and Use Cases
The versatility of the Easter Egg 3D Layered design extends beyond simple decoration. Here are several real-world scenarios where this asset can add significant value:
- Home Decor: Assemble the layers on a sturdy backing board to create a wall hanging. The dimensional aspect catches light and shadow, adding a dynamic focal point to a living room or entryway table.
- Gift Giving: Package a smaller version of the layered egg in a clear cellophane bag tied with a ribbon. It makes for a personalized, handmade gift that shows effort and creativity, perfect for neighbors, teachers, or friends.
- Event Signage: Create a large-scale version using plywood or foam board for Easter brunches, church events, or community fairs. The 3D effect ensures visibility from a distance and adds a festive atmosphere to the venue.
- Commercial Products: Small business owners can produce batches of these decorations for local markets or online shops. By sourcing materials in bulk and optimizing the cutting process, these items can become a profitable line of seasonal merchandise.
Considerations for Success
While the Easter Egg 3D Layered file set is robust and versatile, users should keep a few practical expectations in mind. First, remember that this is a DIGITAL product; no physical items will be shipped to you. You are responsible for acquiring the necessary materials and equipment to bring the design to life. Second, due to the intricate nature of the layers, patience is required during the weeding (removal of excess material) and assembly phases. Rushing these steps can lead to misalignment or damage to delicate parts of the design.
Furthermore, always test your settings on a scrap piece of your chosen material before committing to the final cut. Factors such as blade sharpness, cutting speed, and pressure can vary between machines and materials. A successful test run ensures that every tiny curve and intersection of the Easter egg is cut cleanly, preserving the integrity of the 3D effect.
In conclusion, the Easter Egg 3D Layered design offers a perfect blend of aesthetic appeal and functional utility. By leveraging the right materials, understanding file compatibility, and applying careful craftsmanship, you can create stunning pieces that celebrate the season. Whether you are a seasoned pro or a beginner exploring the joys of layered paper crafts, this asset provides the foundation for creating memorable, high-quality decorations and gifts.