3D Layered Alphabet Letter U: A Practical Guide to Crafting Dimensional Decor
When you are looking to add a personal, high-end touch to your home or a unique flair to a small business brand, few elements are as versatile and impactful as dimensional typography. The 3D Layered Alphabet Letter U is not just a simple cutout; it is a design system that allows for infinite customization. Whether you are a seasoned woodworker with a CNC machine or a beginner with a Cricut or Silhouette cutter, this specific letterform offers a perfect balance of structural integrity and aesthetic appeal. It serves as an ideal centerpiece for wall decor, nursery accents, or thoughtful gifts for friends and loved ones who appreciate handmade details.
However, simply downloading a file and cutting material does not guarantee success. Many creators overlook the nuances of layering, material selection, and scaling, leading to projects that look flat, unstable, or disproportionate. This guide aims to help you avoid common pitfalls and maximize the creative potential of this design, ensuring your final product looks professional and polished.
Understanding the Design Structure
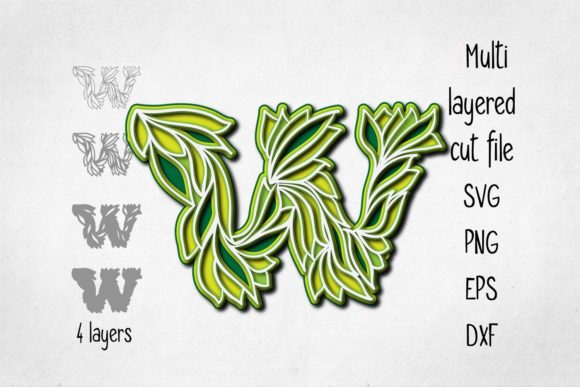
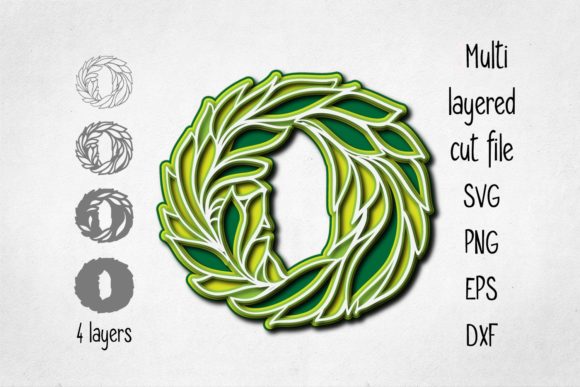
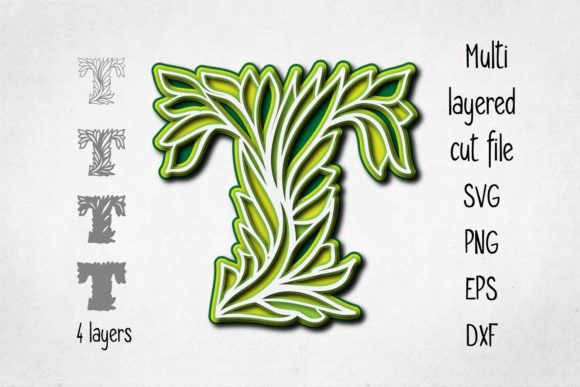
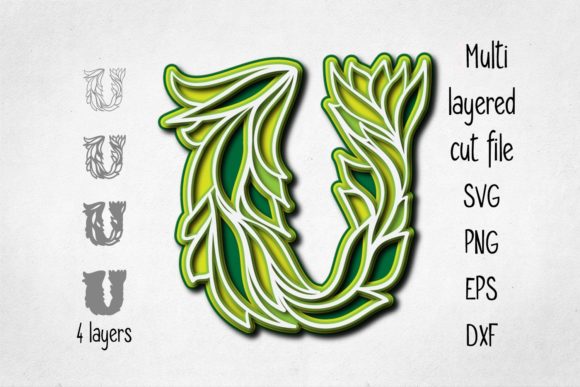
The core concept behind the 3D Layered Alphabet Letter U involves stacking multiple identical outlines of the letter, each slightly offset from the one below it. This technique creates depth and shadow, transforming a two-dimensional shape into a three-dimensional object. The beauty of this specific design lies in its modularity. You are not locked into a single configuration. You can use fewer layers for a subtle, minimalist look, or stack many more to create a bold, sculptural piece. Furthermore, the color combinations are entirely up to you. While monochromatic stacks offer a sleek, modern vibe, contrasting colors between layers can highlight the geometric structure of the letter 'U' beautifully.
This flexibility extends to the materials you choose. For a clean, graphic look, card stock, vinyl, or heavy-weight paper works well. In these cases, the "3D" effect is achieved by leaving precise gaps between the layers, allowing light to pass through and create natural shadows. Alternatively, if you have access to thicker materials like wood, plastic, plywood, MDF (Medium Density Fiberboard), or similar substrates, you can achieve a robust 3D effect even with minimal spacing. These materials are thick enough to provide volume on their own, making them ideal for durable home decor items that need to withstand handling or hanging.
Common Mistakes to Avoid When Scaling
One of the most critical aspects of working with this design is understanding its scale. The provided design features a letter that is over 8 inches (20 cm) tall. This size is generally optimal for visibility and impact. However, users often attempt to resize the design significantly smaller for keychains, jewelry, or tiny labels without considering the physical limitations of the cut lines.
Why resizing down can fail: The intricate inner curves and thin connecting elements of the layered 'U' may become too fragile when reduced. If the layers are too close together in a scaled-down version, the material may break during weeding (removing excess material) or fail to hold its shape. Thin elements might snap off, ruining the symmetry of the letter. If you intend to use this design for smaller projects, you must carefully evaluate the minimum width of the thinnest part of the letter. If your cutting machine cannot handle fine details at that scale, the project will likely result in frustration rather than a beautiful gift.
To avoid this, always preview your design at the intended final size within your cutting software before committing to expensive materials. Check that the gap between layers remains wide enough to prevent adhesion issues and that the structural integrity of the letter remains intact.
Selecting the Right Materials and Tools
Your choice of material should align with the tool you are using and the desired finish. Here is a breakdown of how different materials interact with the layered design:
- Paper and Card Stock: Best for temporary decor, scrapbooking, or lightweight wall art. Ensure you use a sturdy base board if the layers are numerous, as the weight can cause sagging.
- Vinyl: Ideal for decals or applying to smooth surfaces. Vinyl lacks structural rigidity, so it relies heavily on the adhesive backing and the substrate it is applied to. It does not stand alone well.
- MDF and Plywood: These are excellent for permanent home decor. They provide substantial weight and durability. However, they require powerful cutting tools (like laser cutters or CNC routers) and sanding to remove burn marks or rough edges.
- Acrylic/Plastic: Offers a modern, glossy look. Be cautious with heat-sensitive plastics, as lasers can melt or discolor them. Mechanical cutting is often safer for thick acrylics.
A frequent mistake is mismatching the material thickness with the layer gap. If you use thick wood but leave very little space between layers, the pieces may not fit together properly or may bow outward, creating an uneven surface. Always test a small section of your design with your chosen material before cutting the entire letter.
File Formats and Compatibility
Upon purchase, you will receive a ZIP folder containing four distinct file formats: SVG, PNG, EPS, and DXF. Understanding what each format offers is crucial for a smooth workflow.
- SVG (Scalable Vector Graphics): This is the most versatile format for digital cutting machines like Cricut and Silhouette. It contains all layers in a single file, organized for easy editing. You can change colors, resize individual layers, and adjust spacing directly in the software.
- EPS (Encapsulated PostScript): Similar to SVG, this vector format is compatible with Adobe Illustrator, CorelDRAW, and many other professional design programs. It is ideal if you need to make complex edits or combine the letter with other graphics.
- DXF (Drawing Exchange Format): Primarily used for CAD software and laser cutting machines. If you are sending your design to a professional laser cutter service, they will likely request this format.
- PNG (Portable Network Graphics): This is a raster image with a transparent background at 300 dpi. It is useful for printing purposes or for viewing the design layout, but it cannot be cut by plotters because it lacks vector paths.
Important: Before starting your project, ensure your machine or software is compatible with one of these file formats. Trying to force an incompatible format can lead to corrupted files or poor cut quality. For example, attempting to load a high-resolution PNG into a basic cutting app may result in pixelated cuts or processing errors.
Assembly Tips for a Professional Finish
Once your layers are cut, assembly is the final hurdle. To achieve a true 3D effect, consistency is key. Use double-sided foam tape or spacers between layers to maintain uniform height. If you are gluing layers together, apply adhesive sparingly to avoid seepage, which can ruin the crisp edges of your letter. For wooden letters, consider using wood glue and clamping them briefly to ensure a strong bond.
Finally, consider the mounting method. A large 3D letter U can be heavy. Use appropriate hardware for wall mounting, such as French cleats or heavy-duty picture hangers, especially if you are using dense materials like wood or MDF. For lighter versions made of paper or vinyl, standard adhesive strips or command hooks may suffice.
By paying attention to scaling, material compatibility, and proper assembly techniques, you can transform the 3D Layered Alphabet Letter U from a simple digital file into a stunning physical creation. Take the time to plan your color scheme, check your machine settings, and respect the structural limits of your chosen medium. The result will be a personalized piece of decor that stands out for its craftsmanship and attention to detail, making it a cherished gift or a proud addition to your home.